Designing iOS Apps Using Web Standards
Sunday, October 10th, 2010
 Kristofer Layon
Designer, University of Minnesota
Introduction
- Here today to make a case for native apps.
- Designing apps with Web Standards
- An orientation to iTunes Connect
- Walk away with apps that work (not just a demo)
iOS Table view != HTML Tables
please calm down everyone :)
3Billion (with a B) downloaded to date.
NimbleKit has just released an android kit.
Common Elements
- Status bar
- Title bar (or Navigation controller) – back buttons
- Content Area – what we’re working with (Table view)
- Footer bar / Tab bar
Text color (black in white, white on blue) and screen effects are built into objective C.
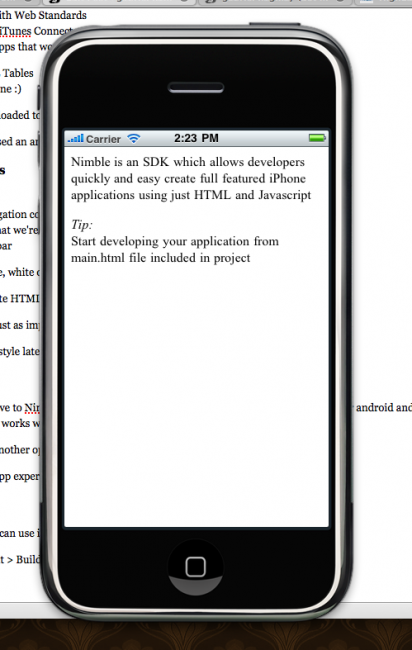
With NimbleKit, you write HTML – which gets translated into objective c to build the app.
Headings (h1,h2…) are just as important as in he web.
Structure content. Then style later!
Alternative Kits
PhoneGap is an alternative to NimbleKit – though less native. However, you can export/emulate for android and other handsets. jQTouch works well with PhoneGap.
Titanium – opensource another option. Though your apps might be marked/branded.
Sencha Touch – mobile app experiences that work on the server.
XCode
“Its like Photoshop. You can use it all day and never use all the features.” – nice!
New Project > Nimble Kit > Build and Run
Wow – look at that.
Nimble Kit is $99 (one time) license. Must be purchased before you submit to the app store.
Product > Add to app
This allows you to import elements (html) that has been built elsewhere.
Any webkit CSS3 styles should work. And, since this compiles to obj c and will only run on the iphone… goodbye compatibility concerns!
And now we add a nav controler:
<script type="text/javascript" src="NKit.js"></script>

<script type="text/javascript">

var navController = new NKNavigationController();

navController.setTitle("Bill of Rights");

navController.setTintColor(39, 54, 141);

</script>
And the back button:
<p align="center"><a href="#" onClick="navController.gotoPage('bill.html')">Read the Bill of Rights</a></p>
Pulling from the web:
function checkForInternet()
{
	var isInternetAvailable = false;

	if (NKIsInternetAvailableViaWifi()==1)
	{
		isInternetAvailable = true;
	}
	else
	{
		if (NKIsInternetAvailableViaCellularNetwork()==1)
		{
			NKAlert("Info", "Internet is available only via cellular network, carrier fees may apply.");
			isInternetAvailable = true;
		}
		else
		{
			NKAlert("Error", "An internet connection is required to access content for this function.");
			isInternetAvailable = false;
		}
	}
	return isInternetAvailable;
}

if (checkForInternet())
{
	// load content from the web
}
To test on real phone or upload to the store you need to join the iOS program:
- standard: $100
- Enterprise: $299
- University: Free? But you can’t distribute???
And then manage about a billion different certs.
2 apps tested on 2 devices? That’ll be 4 certificates! Oh, and then 2 to submit for distribution.
My Thoughts?
A good overview that will help to get me started.
Kristofer was a bit too focused on keeping to the schedule, but overall had a calm and steady flow. Nice to see the in-and-outs of submitting an app to the app store. Good material. Good Job.
