WordPress Image Upload Basics
Wednesday, January 19th, 2011
As someone who manages a bunch of wordpress installations, I can easily tell you the most frequently asked questions have to do with images: “how do I upload images” or “why is my image the wrong size/proportions”.
There are detailed support pages available. But, it seemed like a good idea to put the basics here:
This is just a test post to show how images work.
Uploading images
There are several ways to upload images for a post. The easiest way is to click the icon next to “Upload/Insert”:
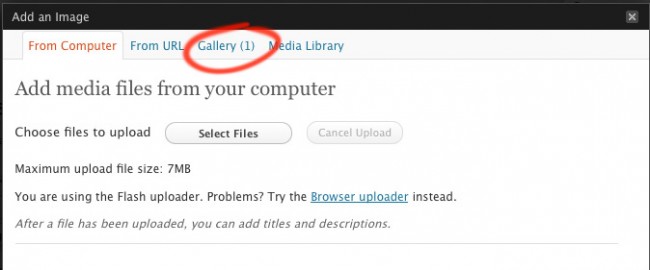
This will bring up an overlay where you can upload images from your computer. After you have uploaded some items, a “gallery tab” will appear:
The gallery lists all the files uploaded for this post. Click “show” to see the information for the uploaded file. Note the size options. If you have already cropped the item to the correct size, just choose “Full Size” and click “Insert into post”

However, if you uploaded a large image, you are given a few options. WordPress has been nice enough to automatically resize the image into: “Thumbnail”, “Medium” and “Large” versions.
The exact size standards are set for all posts in “Settings > Media”. This means that you should decide on some size standards before writing too many posts. If you change the size standard, you will need to re-upload/edit the images in the old posts.

