
Masonry (tips and tricks)
Thursday, August 23rd, 2018
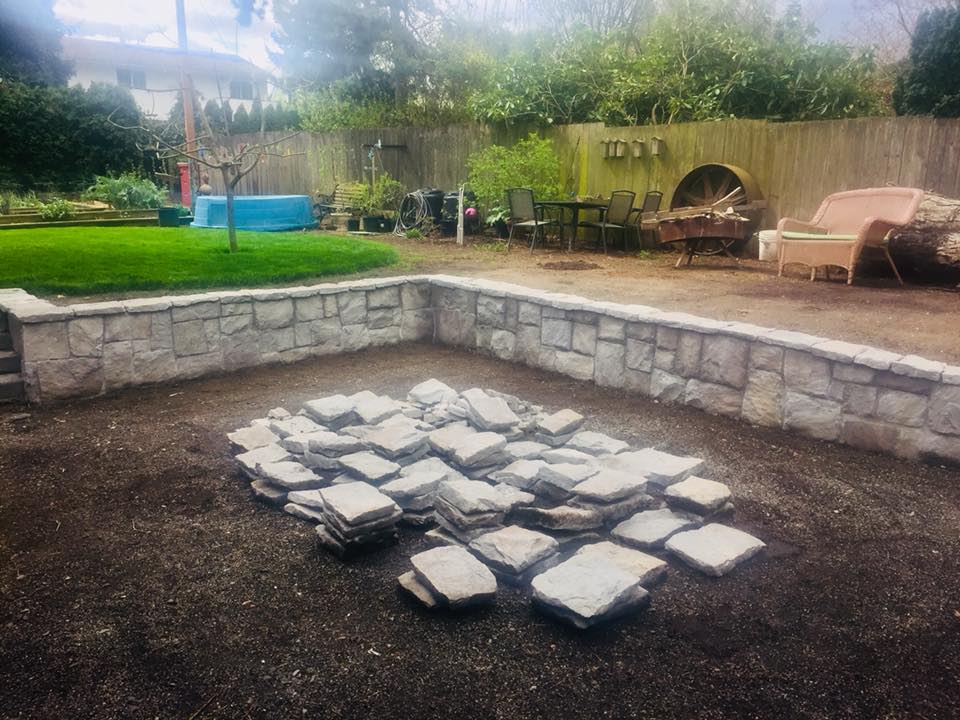
We just completed a modest basalt wall in our back yard. Over the course of the build, we learned many, many things. I wanted to take some quick notes for the next time we tackle a project like this.
 The rock
Real basalt is a beautiful and extremely strong volcanic stone. It is also much, much harder to shape and face then sedimentary stones such as: sandstone, limestone, bluestone.
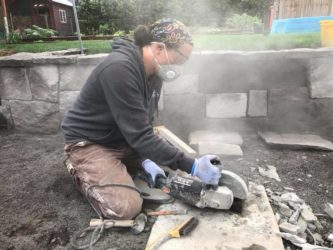
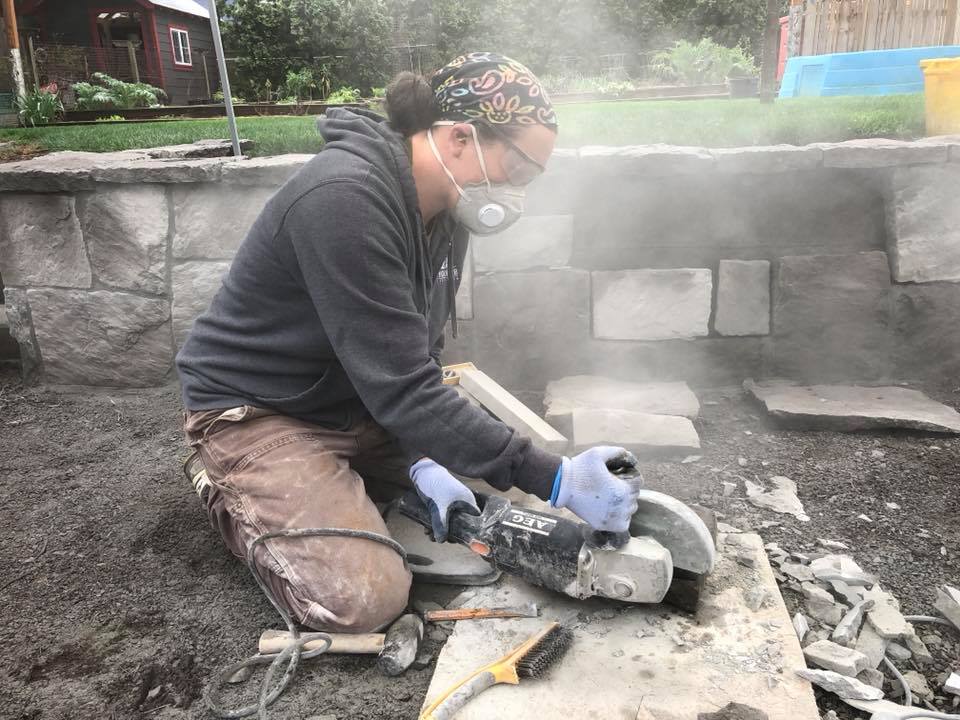
It can be cut with a diamond blade on a strong grinder – we did this a lot – especially on the cap pieces. However, it will leave un unnatural edge that will need to be faced with a chisel.
The mix
Concrete 1-2-3
1 part portland cement, 2 parts sand, 3 parts gravel.
N-type Mortar 1-1-6
750 psi compressive strength. Type N is the normal, general purpose mortar mix and can be used in above grade work
S-type Mortar 2-1-9
1,800 psi compressive strength. Type S is used for below grade work and in such areas as masonry foundation walls, brick manholes, retaining walls,
M-type Mortar 3-1-12
2,500 psi compressive strength. Type M is used for below grade load-bearing masonry work and for chimneys and brick manholes.
Tips and tricks
Squares and rectangles look great, but are more expensive and harder to fit together. We have to cut then chisel many, many pieces.
Mix your own concrete and mortar from the recipes above. It will save you money and your back. Shoveling sand and gravel into a mixer is a hell-of-a-lot easier then hauling 80lb bags of premix.
Mix lime and portland in a bucket first. A drill with a paint mixing wand will quickly combine these two and get rid of any lumps. Then add to sand. If the sand is dry, the drill might also work – if not, a flat shovel is the best tool.
Dryer mix seems less sticky, but is often easier to work with and will make much less mess. The final mortar will be stronger.
For stickier mix (when needed), use less sand in the N mix – as low as 1-1-4. We used this quite a bit. It is extremely sticky, easy to work with, and strong – but not so strong that it will damage your stone.
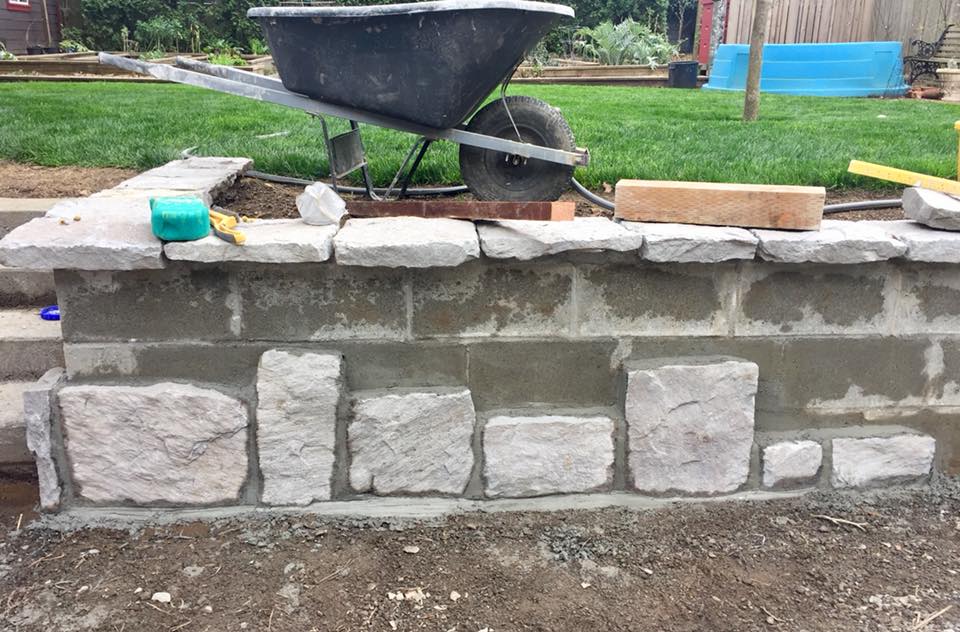
You need a solid footer in front of your CMU (cinder block) wall to place the bottom row of stone. Make it larger than you thing you will need. I had to go back and extend my footer… that was no fun.
Also, make sure to fill your CMU cores. Holes will make it hard to set and tuck point the cap. An alternative would be to place screen over the top CMU row – you know, to hold the mortar.
You can make a quick plywood “chute” to help you fill the cores. Save a bunch of time.
Leave a gap between the stones when they are being placed… no really. I know you love the “dry stack” look, but anything under the width of your tuck pointer will be impossible to get mortar into.
Leave a big gap between the stone and the wall. This isn’t veneer – they are too heavy to stick to the wall. Set each row of rock with mortar underneath, leaving at least a 1″ gap behind. Then, go back and fill in the gap. Wall ties can be used to hold everything in place if needed.
On the same note, do the cap last. It will look fine.