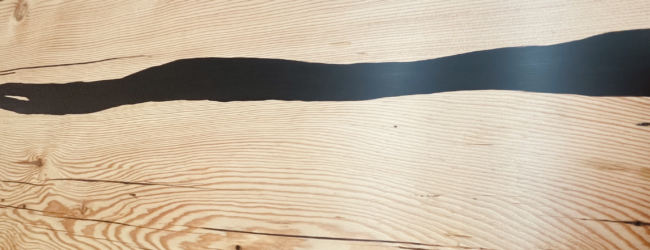
Wood Finish
Thursday, February 15th, 2024
This is more of a reminder for myself than anything else… I am not an expert woodworker and not claiming that this is the only way. Rather, it had been a while since I needed to finish a piece and I didn’t completely remember my prefered method. Next time, I can just look back at this.
Shellac is natural, beautiful, easy to work with, and easy to clean up. It also seals the wood and sticks to everything (if dewaxed). It is my prefered finish, but is not always appropriate. Any contact with alcohol will dissolve it, and even high moisture can cause some discoloration (cup rings). My solution is to start with shellac, and then follow with a thin layer of protective poly.

Step 1: Wipe-on Shellac
Start with dewaxed “sealing” shellac – also known as a 1lb cut. This can be made by dissolving 1oz of flakes in 8oz of denatured alcohol. Choose a color that enhances the wood.
The first coat can be applied with a brush as the wood will suck up a lot. This may raise the grain and require a light sanding. Multiple thin coats can be followed any applied with a cloth. These thin coats dry almost immediately and can be applied in quick succession.
Step 2: Wipe-on Polyurethane
Poly (and pretty much any other coating) will bond to the shellac well. However, it is a good idea to scuff up the surface with very fine sandpaper or steel wool.
The poly should also be thinned and applied with a rag in 2-3 coats. This leaves no brush strokes and dries fast enough to avoid defects from dust. I prefer satin poly mixed with an equal ratio of mineral spirits (50/50). Prior to the final coat, buff with a brown paper bag to get a perfect result.
