
 The Oregon treasures quest
Wednesday, April 24th, 2024
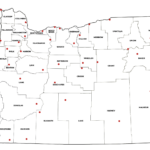
Who doesn’t love a good quest? Oregon senator Jeff Merkley is challenging people to explore a special location in each county of Oregon: The Oregon treasures quest To submit your selfies, send the picture along with your name, the date of the picture, and the name of the location to: OregonTreasuresQuest@Merkley.senate.gov This is a wonderful idea […]
 Aluminum engraving (with a diode)
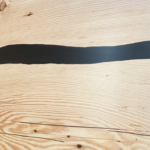 Wood Finish
 Goodbye, Twitter
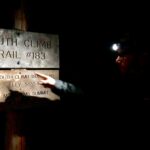 Mt. Adams (c2c w/ a friend)
 Simple Crusty Bread